Whew! With all that's been going on, sitting down with the computer has had no appeal this past week. On the plus side, my herb garden is returning!
The deck outside our kitchen has a built-in planter that runs along two sides. When we moved in, I immediately determined this planter would be my kitchen-herb garden. The previous owners had left some garlic, which is how I became aware of garlic's run-away abilities, and I planted a few other herbs to try. Over the years, I've done less and less with the herb garden. This was due partly to the demands of my growing family and partly to the planter's decreasing ability to hold water. My biggest gardening sin is under-watering, so having to water on a daily basis turned this delightful garden into a chore. I certainly don't need any more chores. Finally, all that remained was a lonely rosemary plant and some dried-up weeds. When the rosemary died over the winter, I decided enough was enough. This week, I made major progress towards doing something about it.
I began by recruiting the children to help me remove the dirt from the planter. This was a big chore that required many trips to the new dirt pile by the back fence. I should mention that the deck (and the planter) is roughly 5 feet off the ground, only accessible by two flights of several steps each. At the bottom of the planter was a layer of mostly flat rocks which ranged in size from 1/2 to 5 inches wide. Rock removal didn't require as many trips to the new rock pile, even though I was using smaller buckets. The bottom and sides of the planter were lined with something I was unable to identify. It resembled something between roofing paper and compressed cardboard, but it mostly served the purpose of keeping the dirt from eroding from the planter.
Once the dirt, rock, and paper were removed, I lined the planter with a lightweight landscape fabric weighted with paving bricks. These bricks should be a lot easier to deal with the next time I decide moving 16 bags of dirt is a good idea. I filled the bottom half of the planter with a clay-heavy topsoil mix, added a layer of agrosoke crystals, then topped it all off with a potting soil mix. From the soaking I gave it afterwards, it looks like this mix is going to hold plenty of water, but the planter still seems to drain well. This is important since so many herbs prefer well-drained soil. I may need a bit more dirt after the next heavy rain, but for the next few years, I'll probably need to do little more than add a bit of compost in the fall.
The following pictures aren't the greatest, but they'll do to show the stages of re-construction:
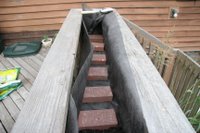
Landscape fabric and paving bricks.
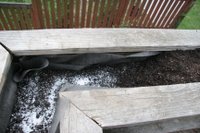
The three layers - heavy soil, agrosoke, light soil

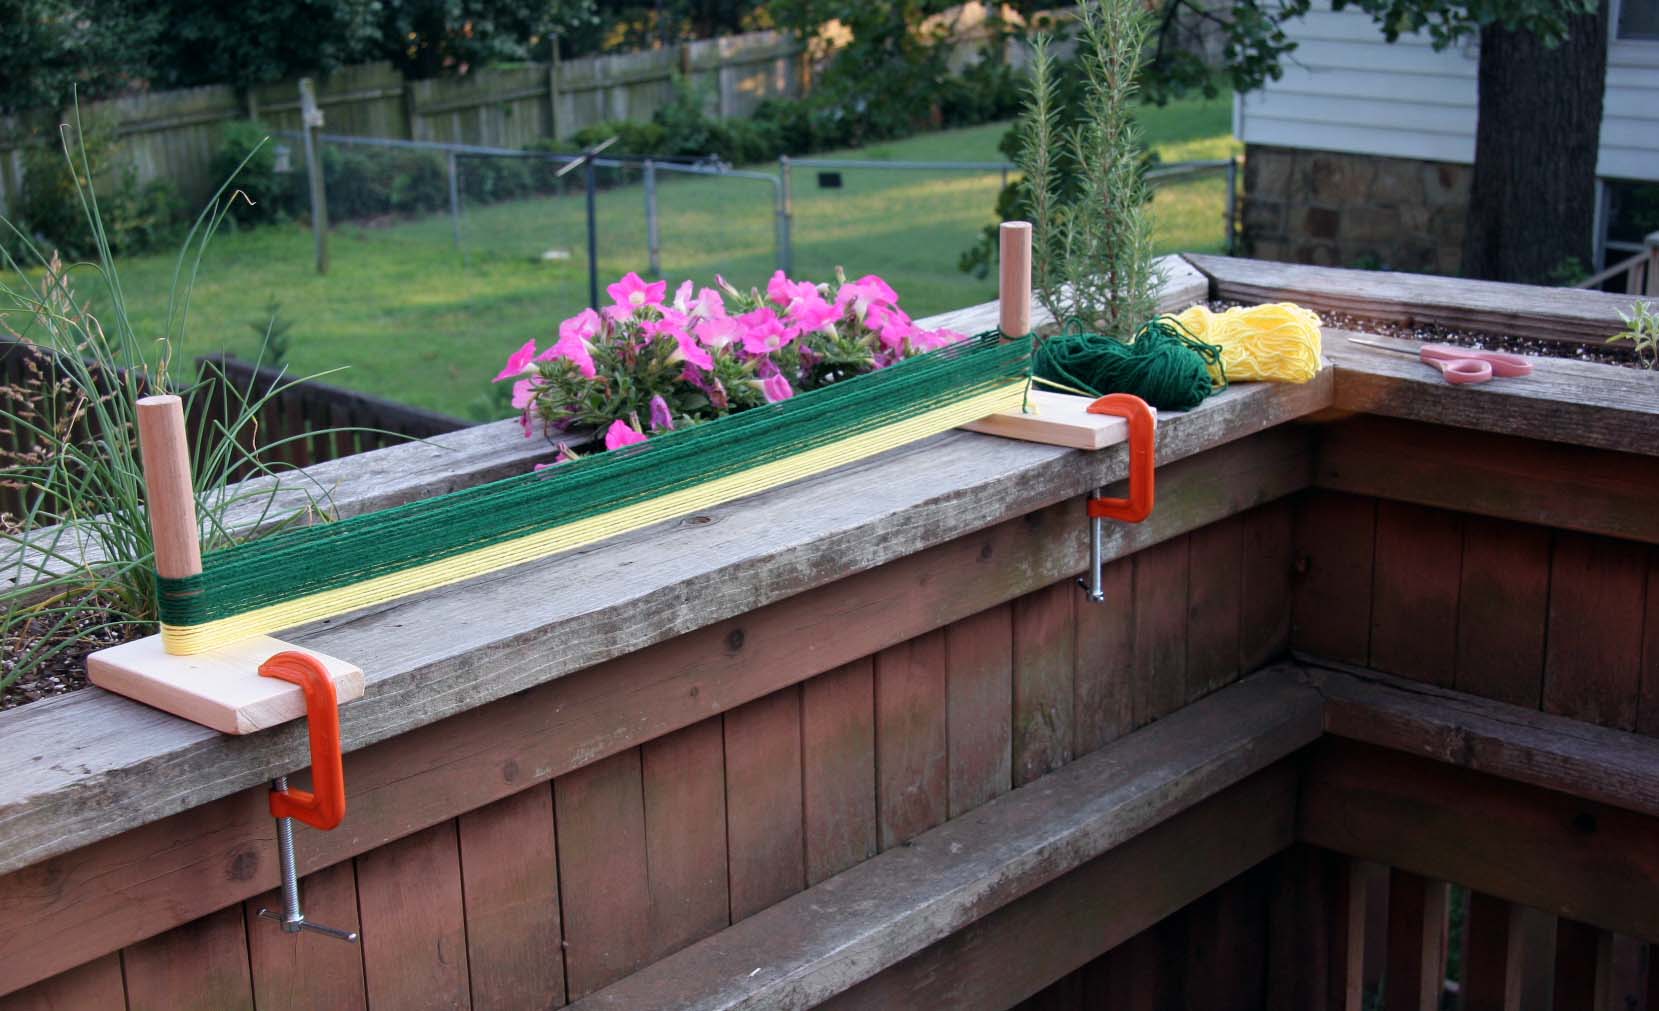
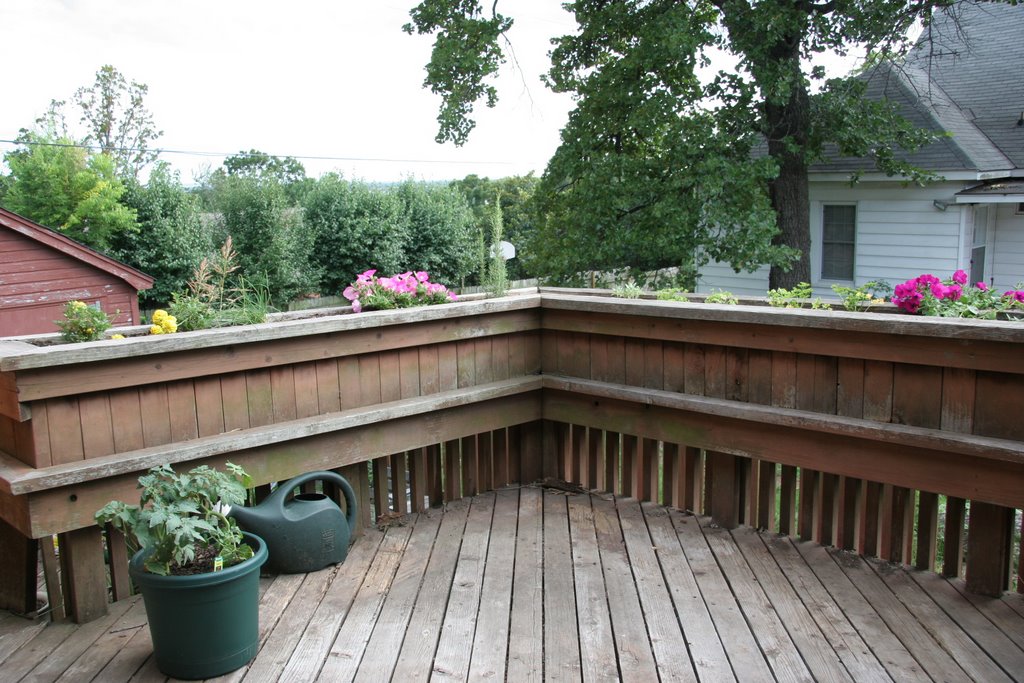
A view of the corner - ready for planting!


 Landscape fabric and paving bricks.
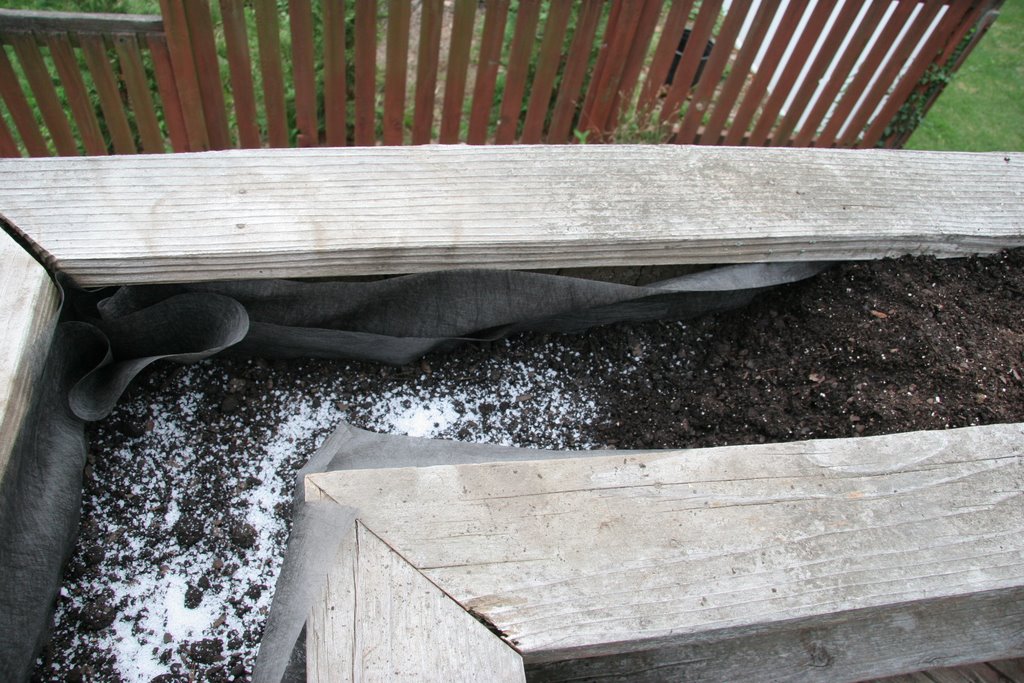 The three layers - heavy soil, agrosoke, light soil
 A view of the corner - ready for planting!
